Enter Inpaint mode
Inpaint lets you change one part of an image, like a prop or an expression, without regenerating the whole shot and losing everything else that’s already working. Select an image on canvas to reveal its toolbar, then click Inpaint.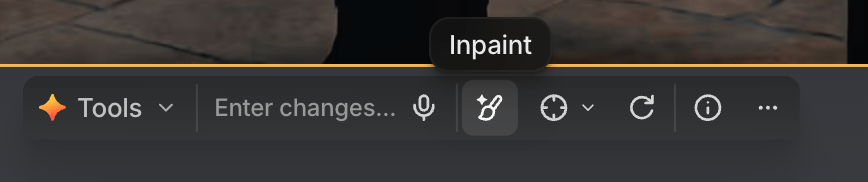
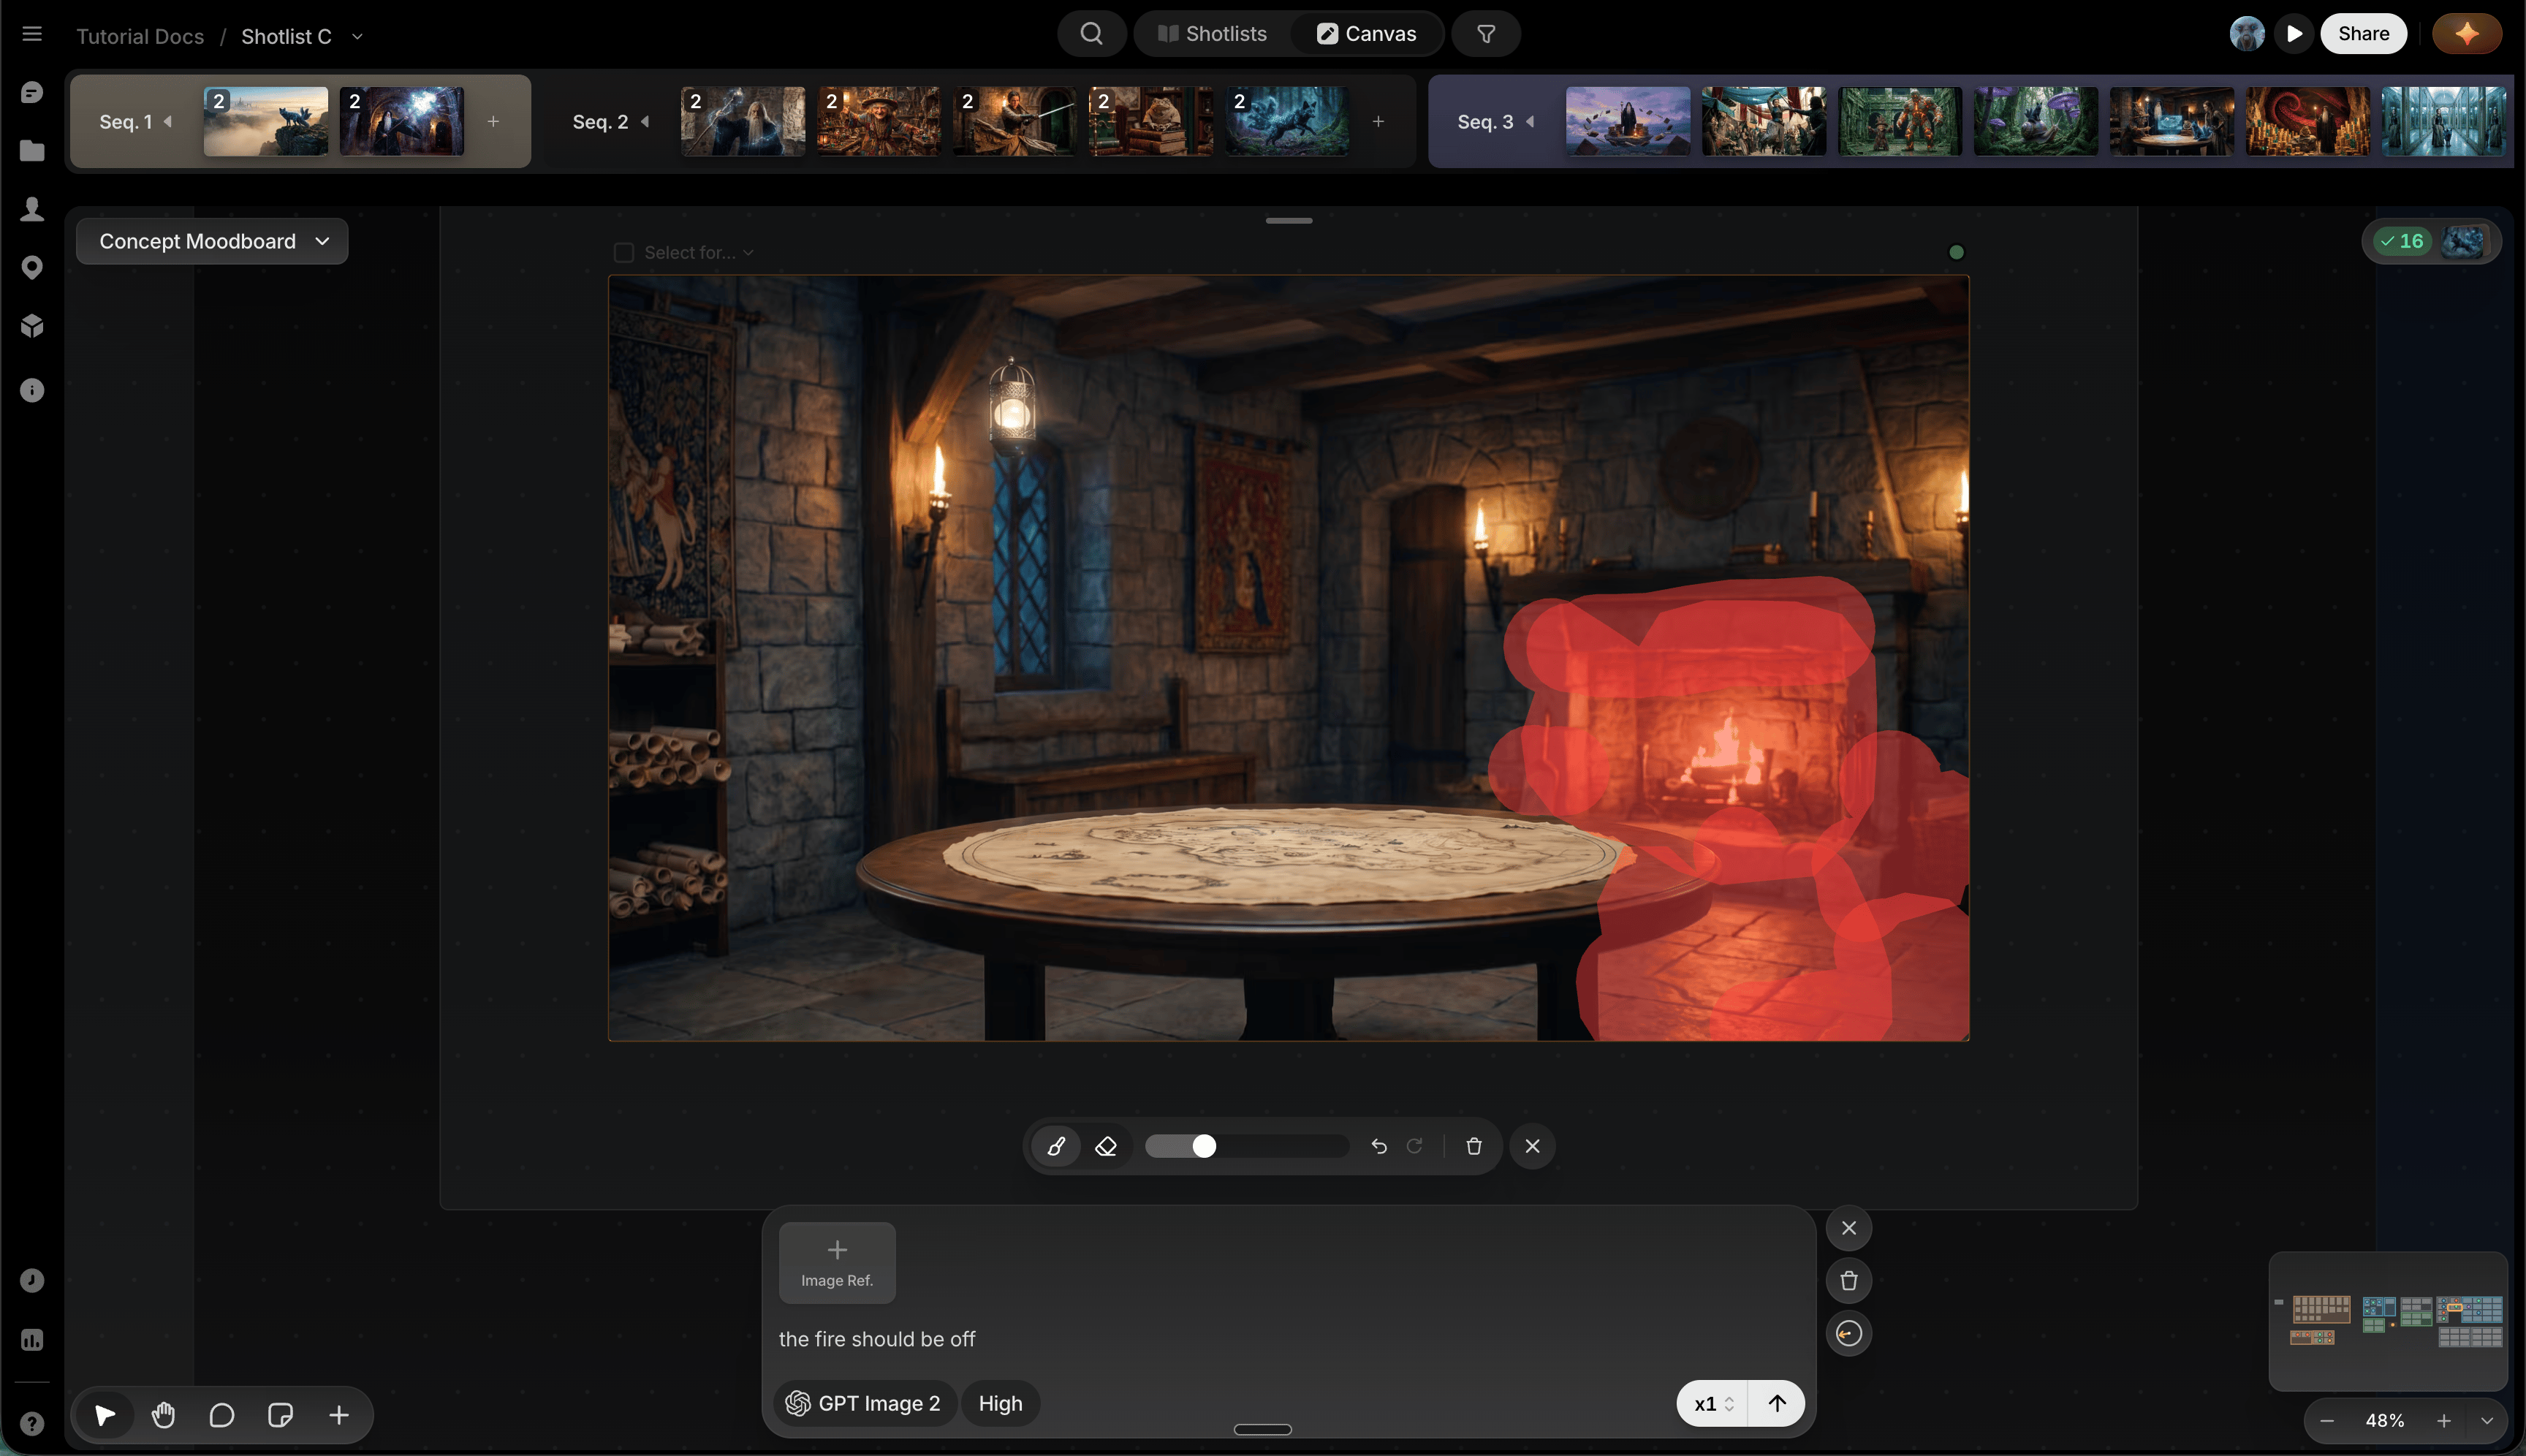
- Brush: start painting on the image.
- Eraser: erase painted marks.
- Slider: adjust brush size.
- Undo / redo: step back or forward through brush and eraser actions.
- Trash: clear all painting.
- X button, or Esc key: exit Inpaint mode.
Inpaint an image
1
Paint the area to change
Mask the part to change.
2
Describe the change
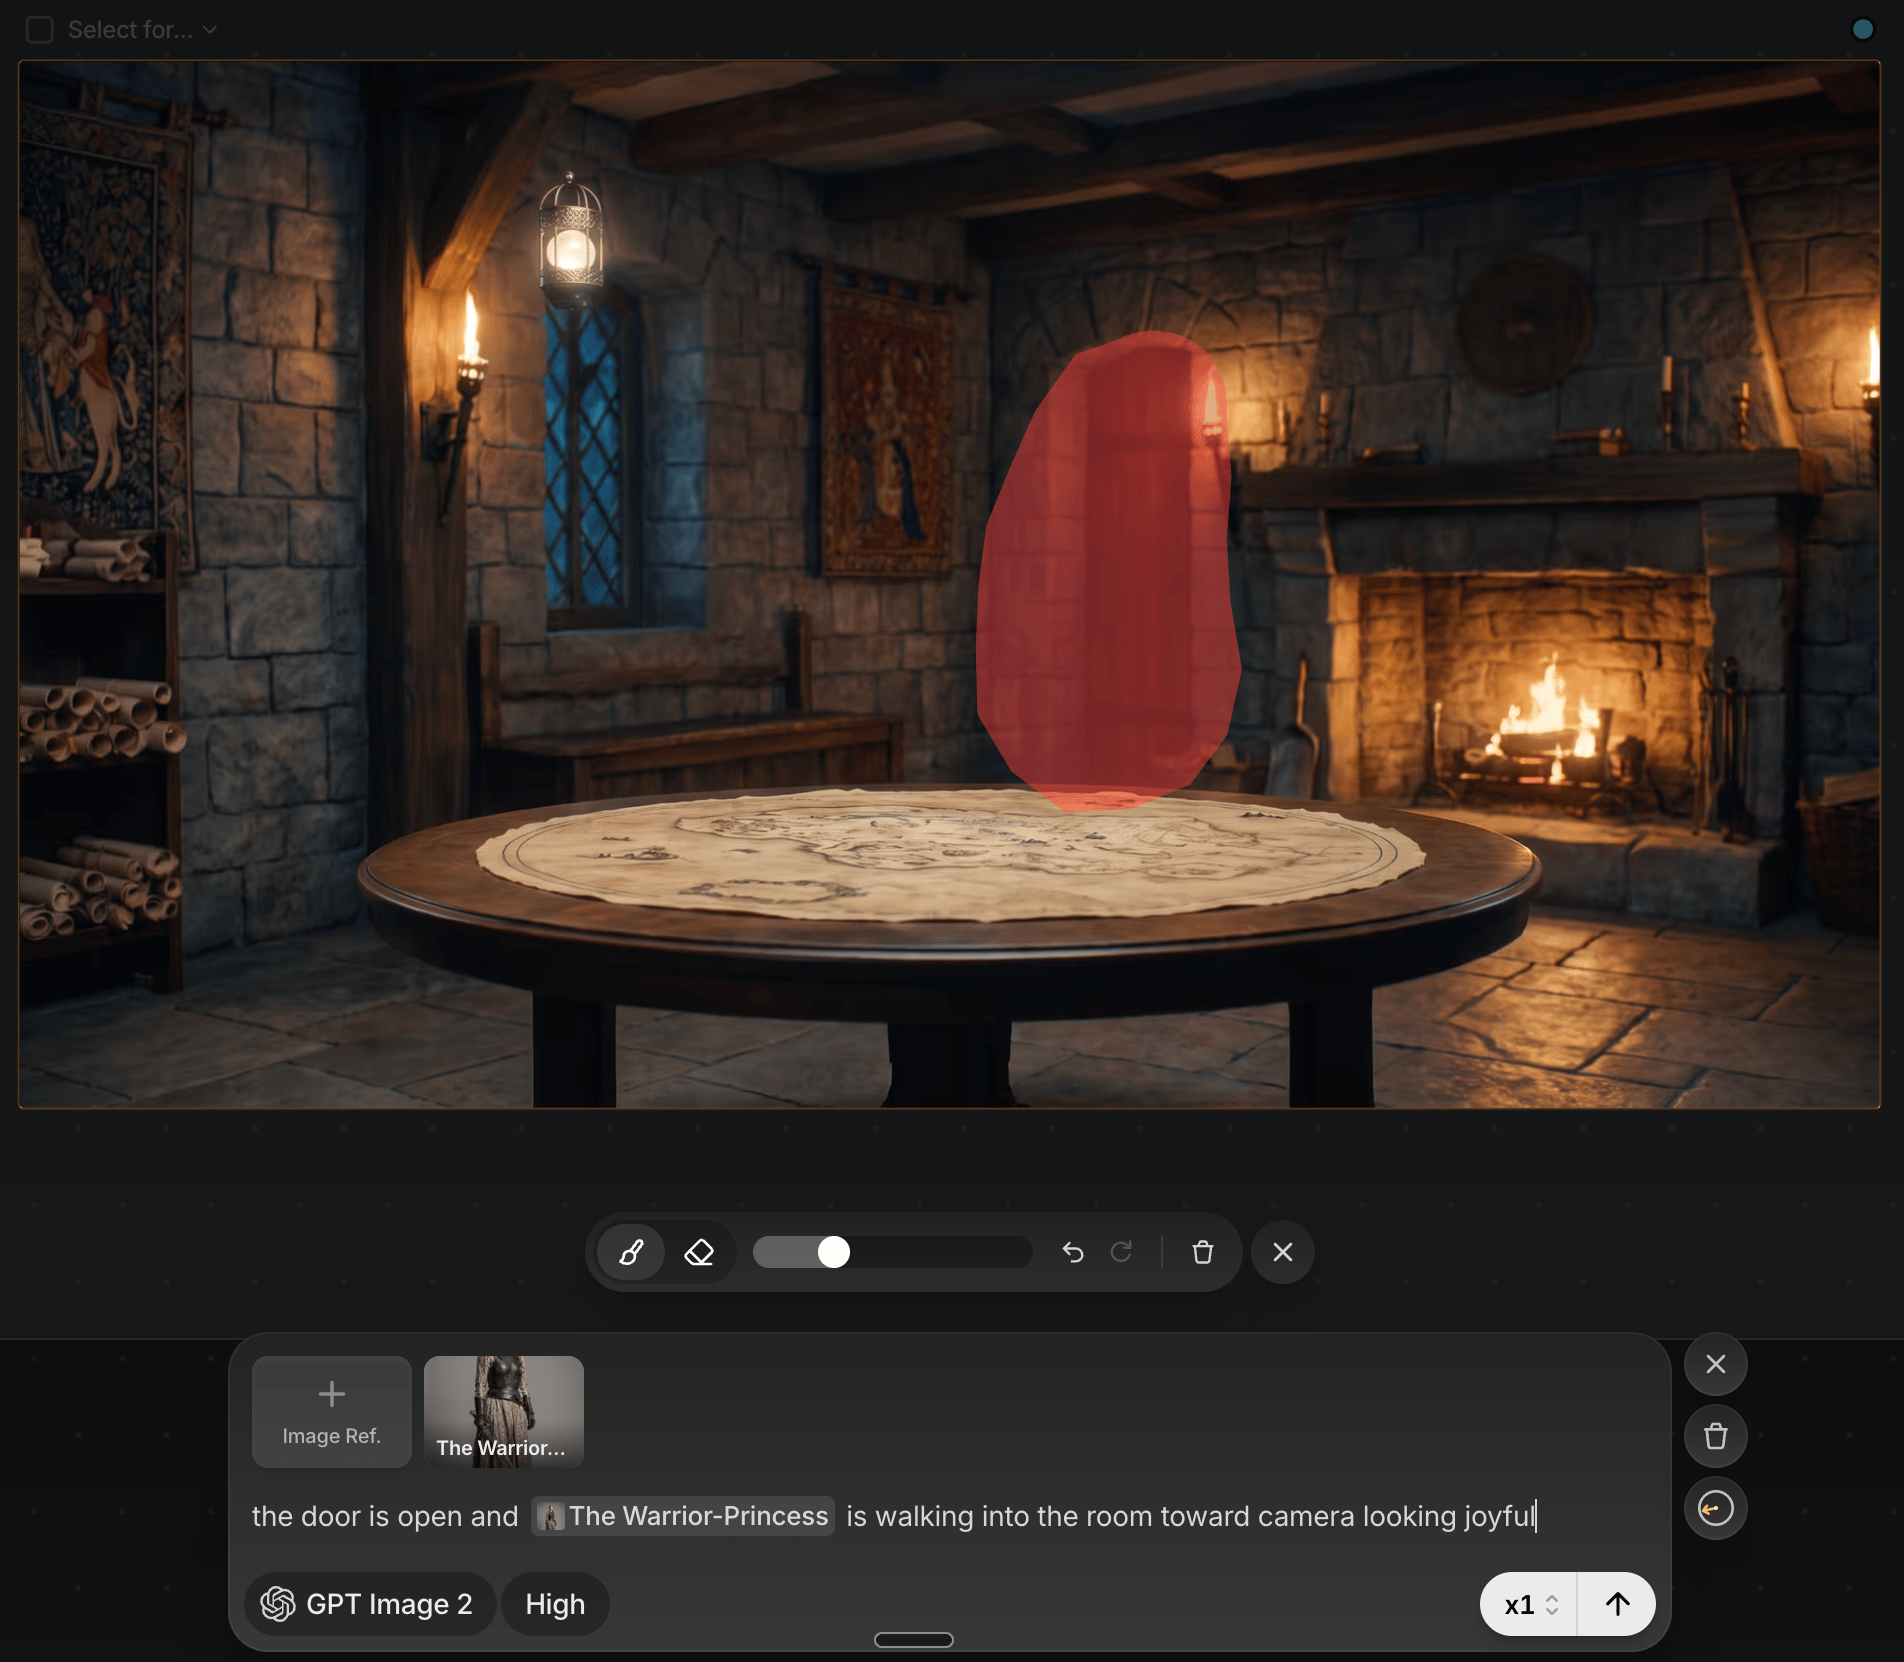
Type it in the prompt box, e.g., “Change the dog to a cat.”
3
Generate
Press generate to fill the masked area.
Inpaint with image references
For a more specific change, add a reference image before painting, e.g., to change sunglasses’ style: add the new sunglasses as a reference, paint out the existing ones, then describe the change. References work the same as normal generation, including Click to pick straight from the canvas; your mask and prompt survive the round trip.