A
project contains one or more stories. Each story contains scenes. Saved assets are shared across every story in the same project.Create your first workspace
Create a project
Select Create New Project and give the project a name. Your project is the top-level container for stories, collaborators, and saved assets.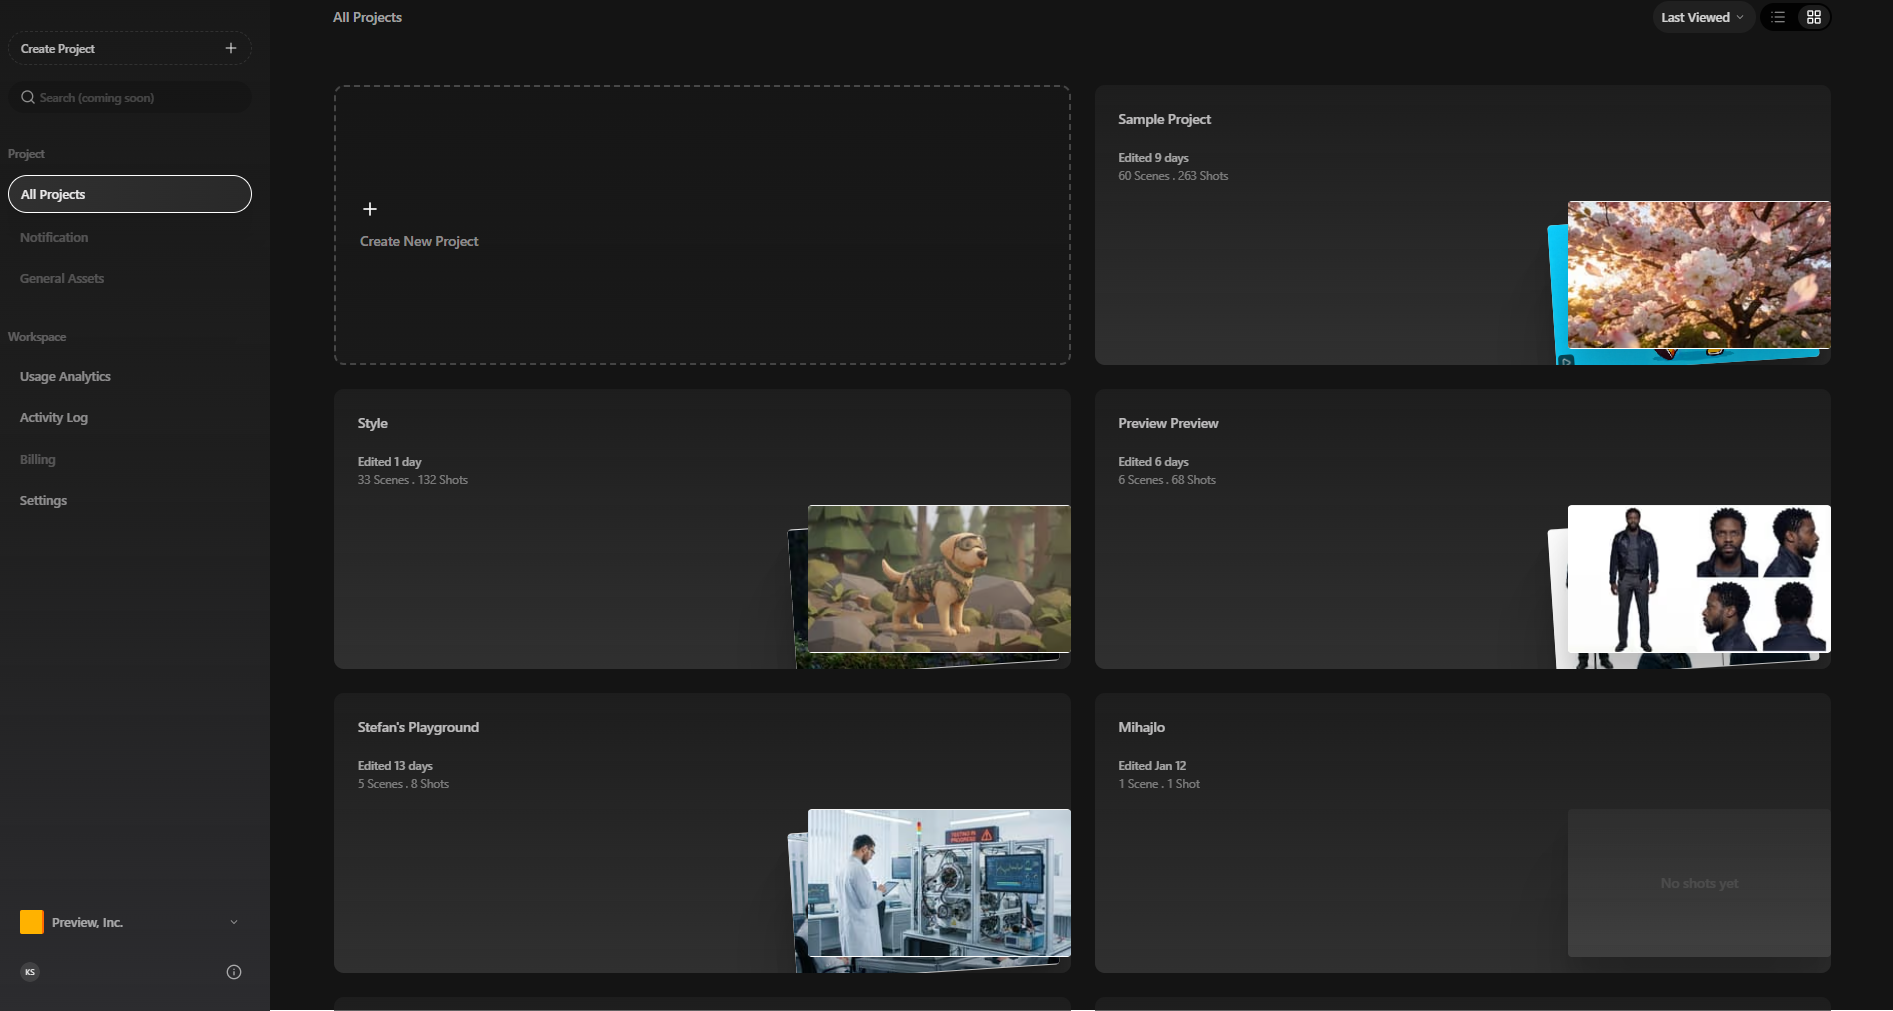
Add a story
Inside the project, create a story for the work you want to build. Stories behave like episodes or separate work streams inside the same project. Each story has its own scenes. All stories within a project share their saved assets.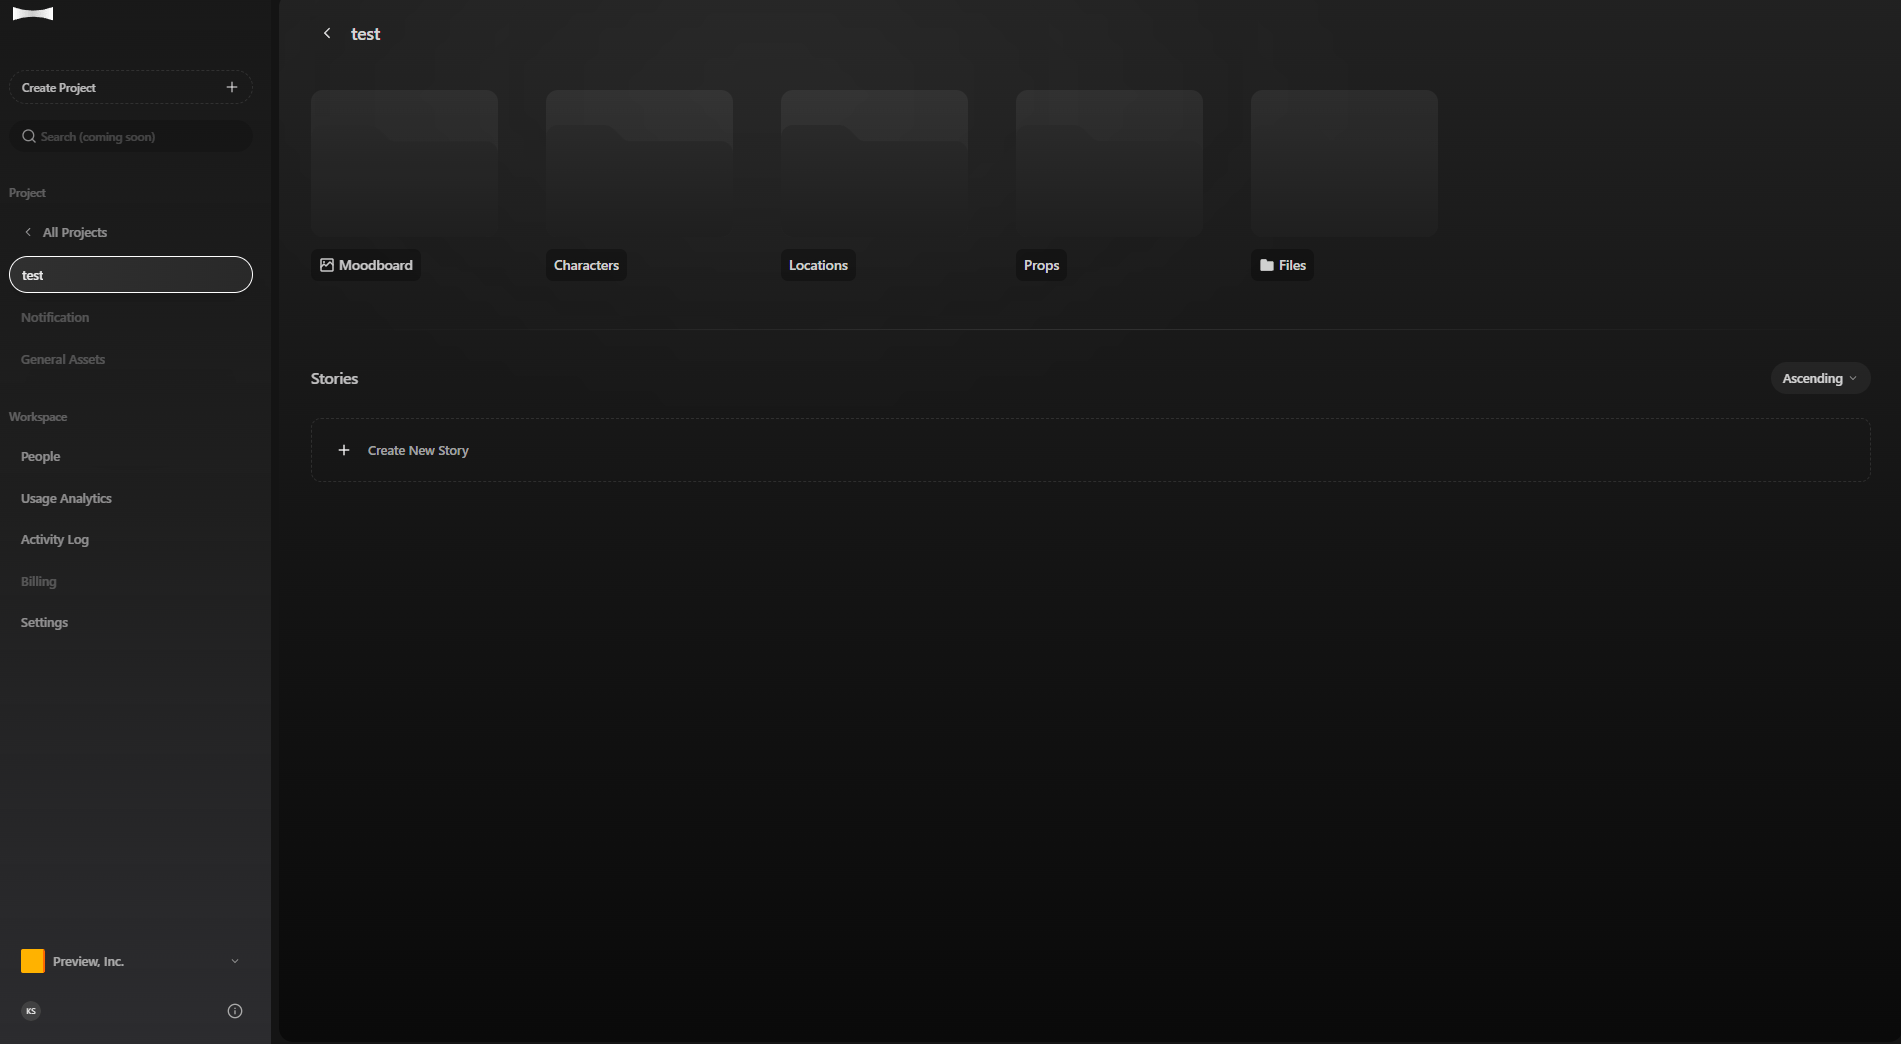
Generate in Canvas
Once you create your story you will be brought to your Scene 1 Canvas. The canvas is where you generate all your assets and do your creative work. The canvas is infinite and multiplayer.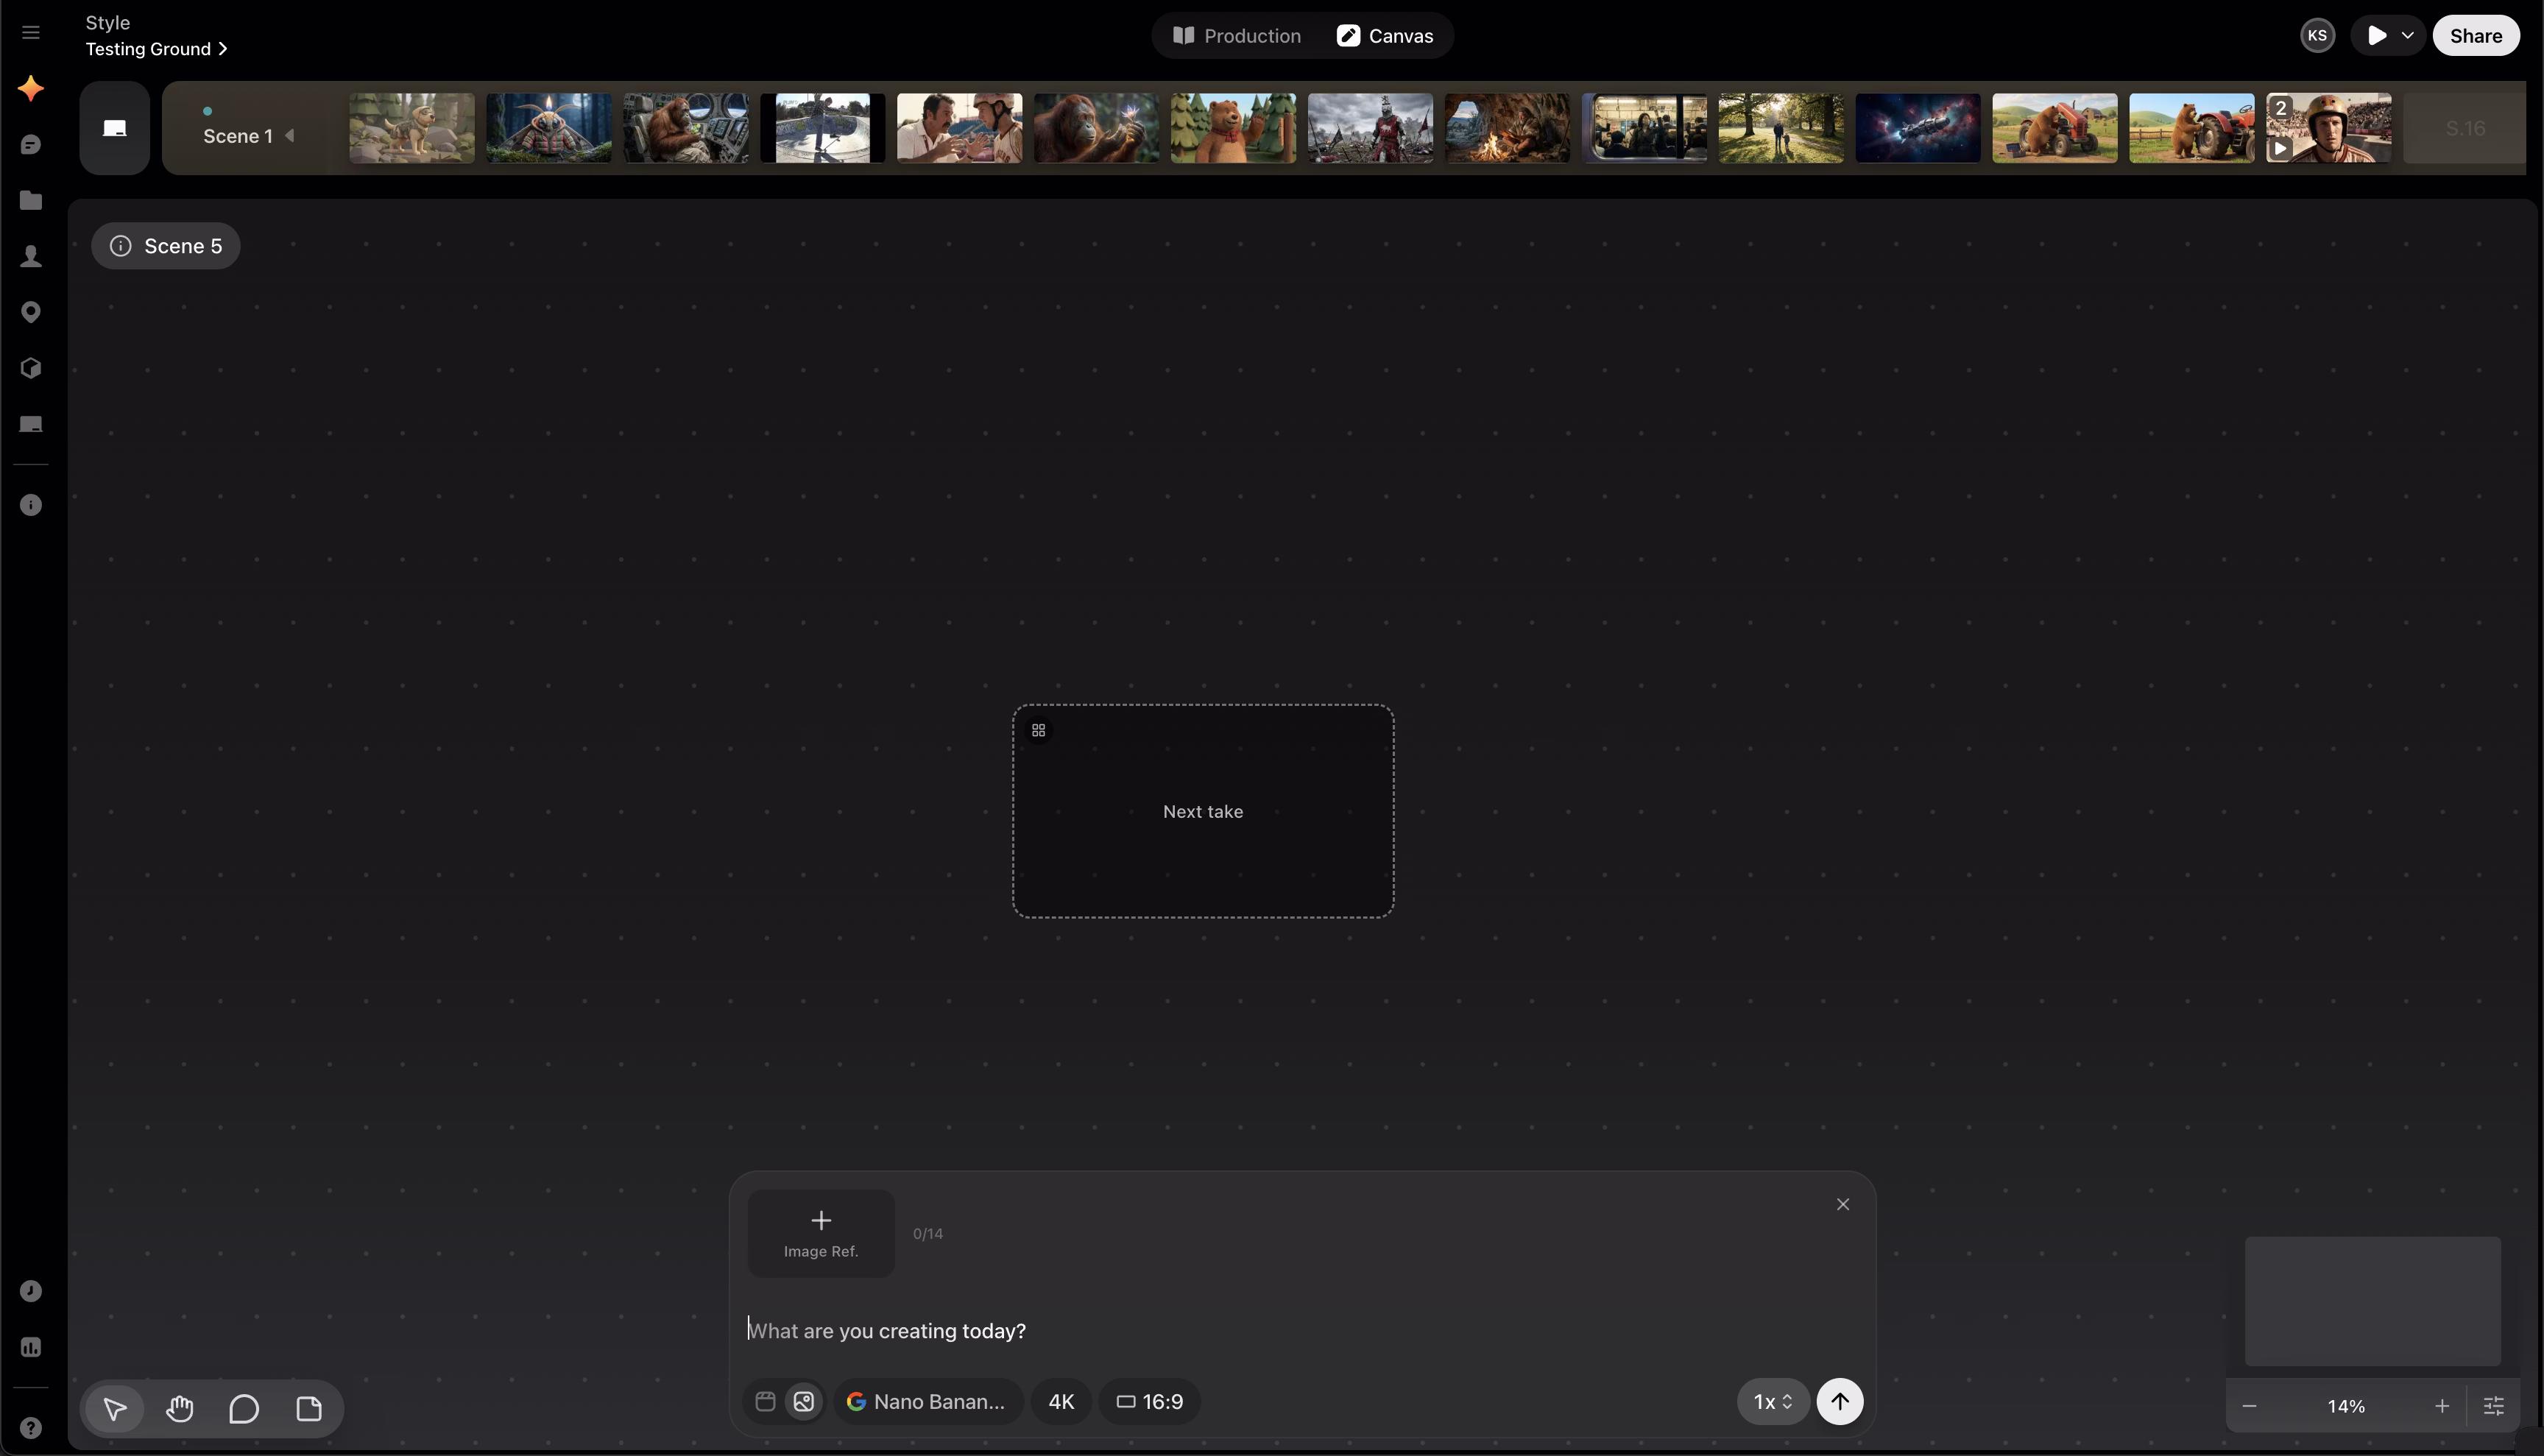
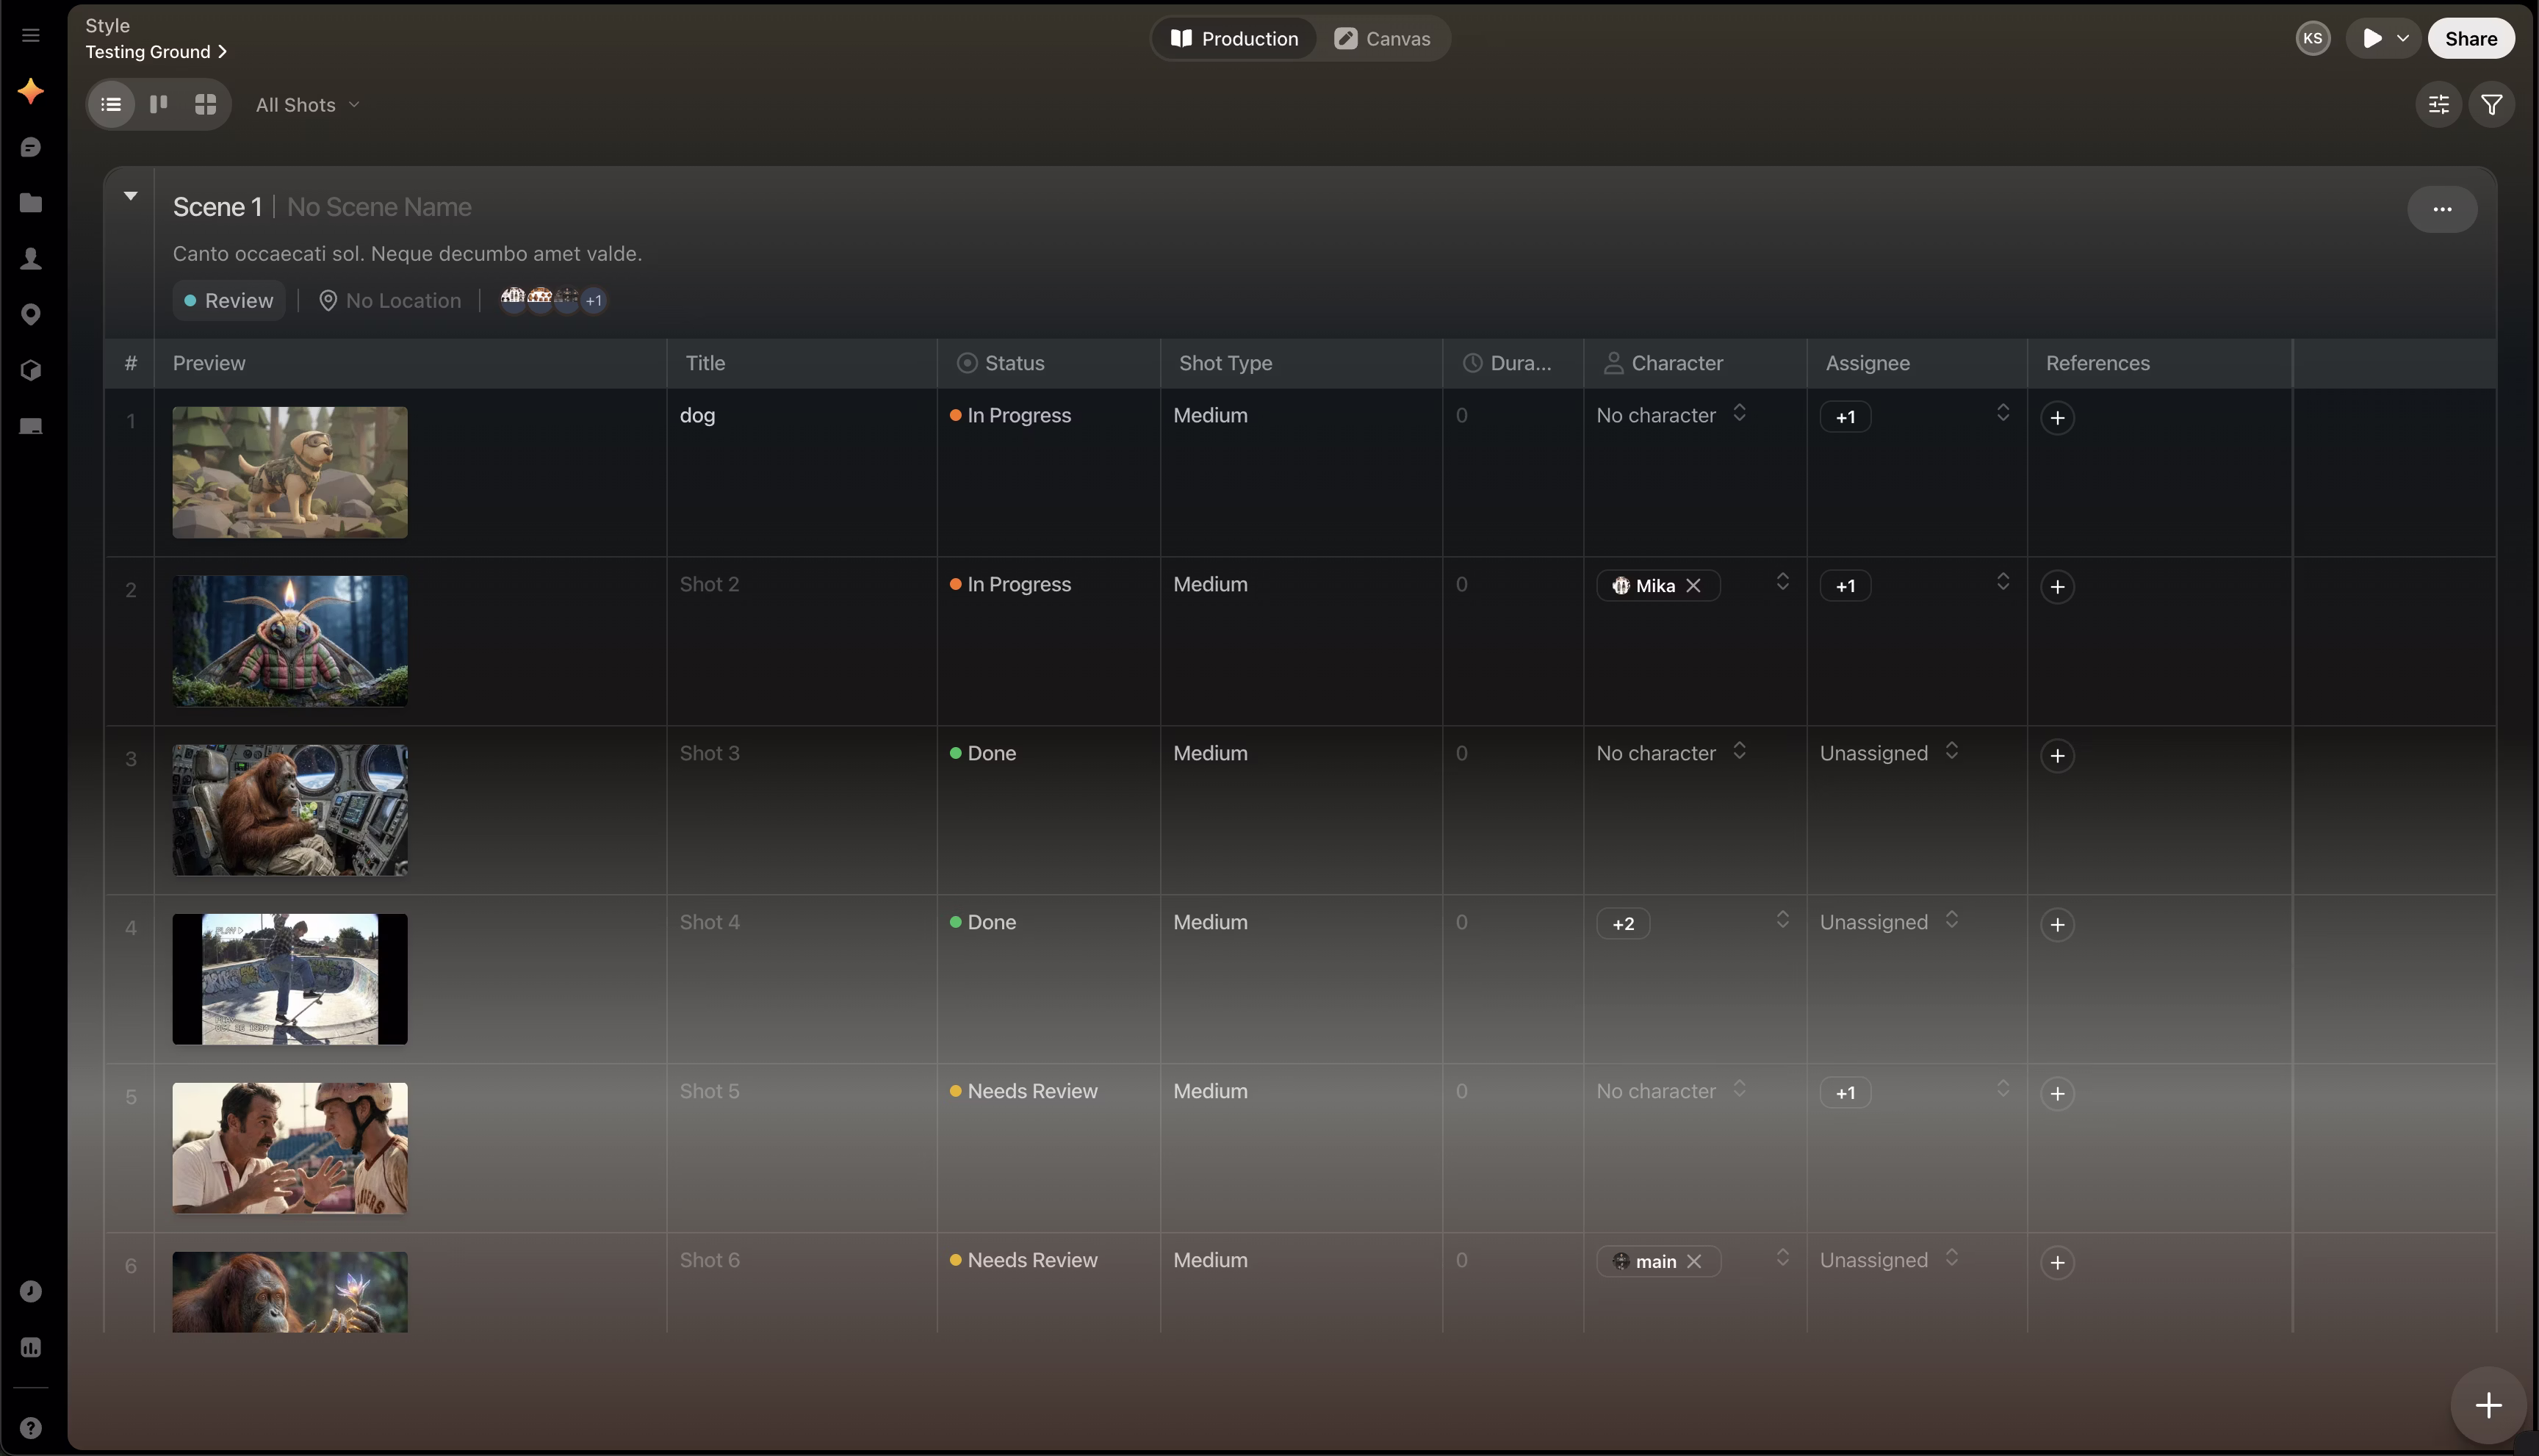
Understand the core structure
- Use a
projectto group related stories and collaborators. - Use a
storyto organize a sequence of scenes. - Use a
sceneas the working space for one part of the story. - Use a
shotto track a specific beat within a scene. - Use
takesfor the images and videos attached to a shot.